Placeholder Image

Subtitles section Play video

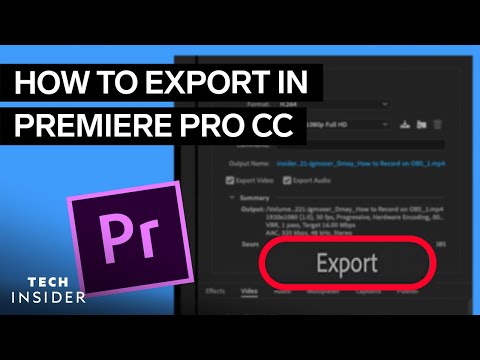
  • In this video, we're going to show you

  • how to export a video in Adobe Premiere Pro CC.

  • To start, let's open Premiere Pro.

  • For this example, we will have a completed edit

  • open in our timeline.

  • To render it, go to where you want

  • your exported video to start.

  • In our case, we want it to start

  • right at the beginning of our timeline.

  • Make sure your playhead is at the beginning

  • and press "I."

  • This will be your in point.

  • Now move your playhead to where you want

  • to end your exported video.

  • Now press "O." This will be your out point.

  • Premiere will render everything

  • in between your in and out points.

  • Now open up your export window, click on "File,"

  • then "Export," and then "Media."

  • Let's go through some of the important settings.

  • You can start by choosing a format

  • and selecting a preset under that format

  • to match your video-export needs.

  • H.264 is a very common, popular choice

  • and is an MP4 file type.

  • H.264 is used for a high-resolution video

  • that is packaged in smaller file sizes.

  • Under the presets tab, you can find optimized settings

  • for social-media applications

  • like Facebook, Twitter, Vimeo, and YouTube.

  • Other popular formats can be QuickTime,

  • which is a .mov file type,

  • or MP3, which is a great way to export

  • an audio-only version of your video for a podcast.

  • The next export setting is output name.

  • Simply click on the output name,

  • name the file, choose the save location,

  • and click "Save."

  • Down one more, we have choices

  • to export video- or audio-only versions,

  • and below that is a summary

  • of your current output location, settings, and source.

  • At the bottom, we have an effects tab,

  • which you can use to add a watermark to the video.

  • The video tab is where you can refine

  • the output video settings, like width

  • and height and coding settings and bitrate.

  • Two quick tips here: Use hardware encoding

  • over software encoding when available for faster renders,

  • and the larger the bitrate, the higher the quality

  • but larger the file size.

  • The audio tab has adjustments for audio quality.

  • The publish tab gives you the ability

  • to upload directly from Premiere to sites like Facebook,

  • Vimeo, and YouTube.

  • At the bottom, you can see your estimated file size

  • based on the settings you have chosen.

  • Now it's time to export.

  • You have two options.

  • Clicking "Export" will begin the exporting process

  • inside Premiere, and you lose the ability

  • to continue editing until it is complete.

  • Option two is to click "Queue,"

  • which opens Adobe Media Encoder

  • and places the render in the queue.

  • You can start the render, pause, or stop

  • using the controls at the top,

  • and you have the ability to continue editing in Premiere.

  • A small note: If you go back

  • and continue editing the same project

  • you are currently rendering inside Media Encoder,

  • your changes to the edit will not show up

  • in the current render until you create a new export.

  • What other questions do you have about Adobe Premiere

  • or the Adobe Creative Cloud suite?

  • Leave a comment below, and we will answer them.

In this video, we're going to show you

Subtitles and vocabulary

Click the word to look it up Click the word to find further inforamtion about it