Subtitles & vocabulary
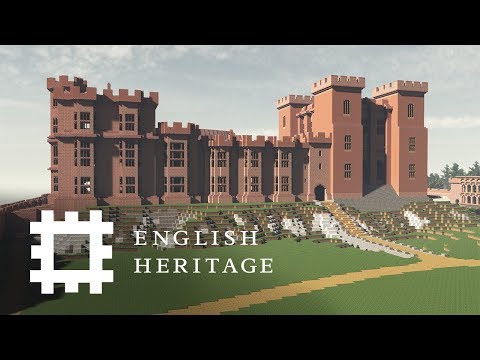
Kenilworth Castle In Minecraft | Part 1: Exterior
00
Summer posted on 2020/09/15Save
Video vocabulary

absolutely
US /ˈæbsəˌlutli, ˌæbsəˈlutli/
・
UK /ˈæbsəlu:tli/
- Adverb
- Completely; totally; very
- Considered independently and without relation to other things; viewed abstractly; as, quantity absolutely considered.
A2
More figure
US /ˈfɪɡjɚ/
・
UK /ˈfiɡə/
- Verb (Transitive/Intransitive)
- To appear in a game, play or event
- To calculate how much something will cost
- Noun
- Your body shape
- Numbers in a calculation
A1TOEIC
More illusion
US /ɪˈluʒən/
・
UK /ɪ'lu:ʒn/
- Noun (Countable/Uncountable)
- Idea, image or impression that is not correct
- Something that deceives by producing a false or misleading impression of reality.
B2
More material
US /məˈtɪriəl/
・
UK /məˈtɪəriəl/
- Noun (Countable/Uncountable)
- Cloth; fabric
- Supplies or data needed to do a certain thing
- Adjective
- Relevant; (of evidence) important or significant
- Belonging to the world of physical things
A2
More Use Energy
Unlock Vocabulary
Unlock pronunciation, explanations, and filters

