Subtitles & vocabulary
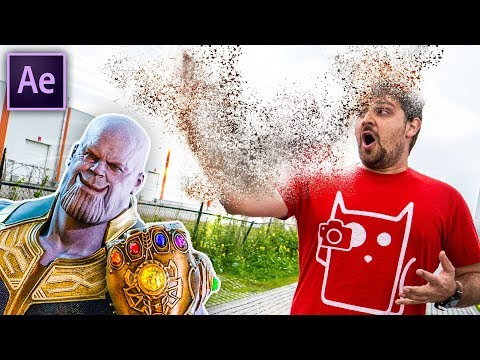
THANOS DISINTEGRATION - After Effects (NO PLUGINS)
00
林家任 posted on 2019/07/09Save
Video vocabulary

entire
US /ɛnˈtaɪr/
・
UK /ɪn'taɪə(r)/
- Adjective
- Complete or full; with no part left out; whole
- Undivided; not shared or distributed.
A2TOEIC
More pattern
US /ˈpætən/
・
UK /'pætn/
- Noun (Countable/Uncountable)
- Model to follow in making or doing something
- Colors or shapes which are repeated on objects
- Transitive Verb
- To copy the way something else is made
- To decorate with a pattern.
A2TOEIC
More description
US /dɪˈskrɪpʃən/
・
UK /dɪˈskrɪpʃn/
- Noun
- Explanation of what something is like, looks like
- The type or nature of someone or something.
A2TOEIC
More scale
US /skel/
・
UK /skeɪl/
- Noun (Countable/Uncountable)
- Size, level, or amount when compared
- Small hard plates that cover the body of fish
- Verb (Transitive/Intransitive)
- To change the size of but keep the proportions
- To climb something large (e.g. a mountain)
A2TOEIC
More Use Energy
Unlock Vocabulary
Unlock pronunciation, explanations, and filters

