Subtitles & vocabulary
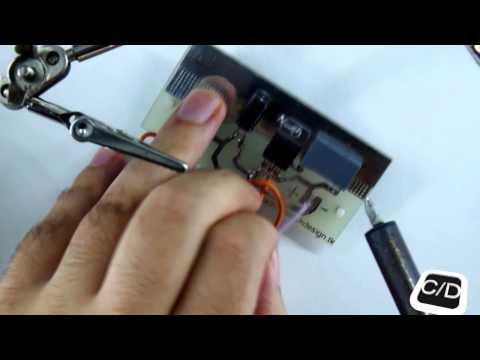
Project: wireless charger for every phone (PART 2)
00
Tom Yen posted on 2013/09/23Save
Video vocabulary

plane
US /plen/
・
UK /pleɪn/
- Countable Noun
- An airplane
- Sharp tool for smoothing or shaving wood
- Noun
- Flat or level surface
A1TOEIC
More put
US /pʊt/
・
UK /pʊt/
- Transitive Verb
- To move or place a thing in a particular position
- To rate something in importance or value
- Phrasal Verb
- to make a light stop shining by pressing or moving a switch
A1
More place
US /ples/
・
UK /pleɪs/
- Transitive Verb
- To put someone in a particular type of situation
- To put something in a certain location or position
- Noun (Countable/Uncountable)
- Particular location, area or region
- A position in a sequence or structure.
A1TOEIC
More practice
US /ˈpræktɪs/
・
UK /'præktɪs/
- Noun
- The office and place for legal or medical work
- Doing something many times to become better at it
- Verb (Transitive/Intransitive)
- To work as a doctor or lawyer
- To live according to the teachings of a religion
A2TOEIC
More Use Energy
Unlock Vocabulary
Unlock pronunciation, explanations, and filters

