Subtitles & vocabulary
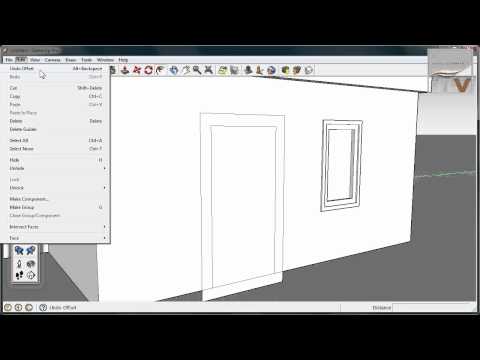
Getting started with SketchUp - Part 2
00
游小亥 posted on 2013/07/26Save
Video vocabulary

tricky
US /ˈtrɪki/
・
UK /'trɪkɪ/
- Adjective
- Difficult, so needing skill to do or deal with
- Likely to use tricks; dishonest or deceptive
A2
More scratch
US /skrætʃ/
・
UK /skrætʃ/
- Verb (Transitive/Intransitive)
- To rub your skin with your nails to stop an itch
- To make a small cut or mark on a surface
- Noun
- Action of rubbing your skin when itchy
- A small cut or mark on a surface
B1TOEIC
More explore
US /ɪkˈsplɔr/
・
UK /ɪk'splɔ:(r)/
- Transitive Verb
- To examine something in detail to learn about it
- To travel to a place to discover more about it
A2TOEIC
More separate
US /'sepəreɪt/
・
UK /'sepəreɪt/
- Adjective
- Being different from or unrelated to another
- Not connected; different.
- Transitive Verb
- To divide two things by being in between them
- To move things away from each other
A2TOEIC
More Use Energy
Unlock Vocabulary
Unlock pronunciation, explanations, and filters

