Subtitles & vocabulary
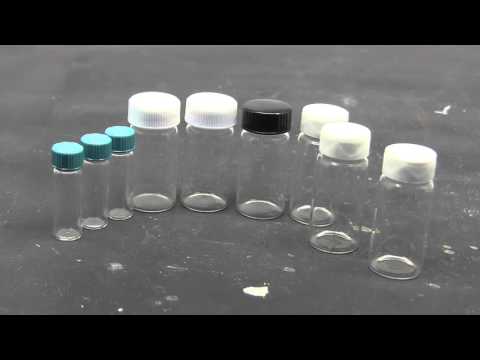
Equipment for an amateur lab - Part 1
00
Yrchinese posted on 2017/02/09Save
Video vocabulary

material
US /məˈtɪriəl/
・
UK /məˈtɪəriəl/
- Noun (Countable/Uncountable)
- Cloth; fabric
- Supplies or data needed to do a certain thing
- Adjective
- Relevant; (of evidence) important or significant
- Belonging to the world of physical things
A2
More approach
US /əˈprəʊtʃ/
・
UK /ə'prəʊtʃ/
- Verb (Transitive/Intransitive)
- To get close to reaching something or somewhere
- To request someone to do something specific
- Noun (Countable/Uncountable)
- Means of reaching a place, often a road or path
- Request of someone with a specific goal in mind
A2TOEIC
More acquire
US /əˈkwaɪr/
・
UK /ə'kwaɪə(r)/
- Transitive Verb
- To get or earn something by thinking or working
- To develop or learn a skill, habit, or quality.
A2TOEIC
More scale
US /skel/
・
UK /skeɪl/
- Noun (Countable/Uncountable)
- Size, level, or amount when compared
- Small hard plates that cover the body of fish
- Verb (Transitive/Intransitive)
- To change the size of but keep the proportions
- To climb something large (e.g. a mountain)
A2TOEIC
More Use Energy
Unlock Vocabulary
Unlock pronunciation, explanations, and filters

