Subtitles & vocabulary
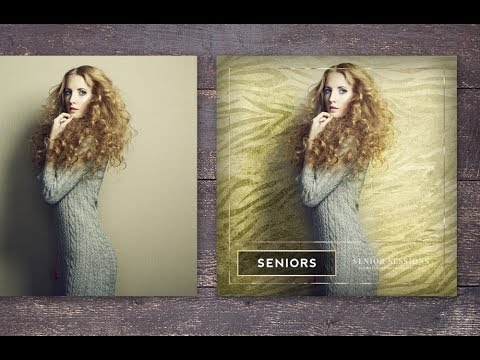
Add LUXE drama to studio photography with digital overlays in Photoshop: Zebra Gold Leaf
00
Vivi Her posted on 2017/01/17Save
Video vocabulary

gorgeous
US /ˈɡɔrdʒəs/
・
UK /'ɡɔ:dʒəs/
- Adjective
- Extremely attractive; richly beautiful
- Delightfully enjoyable or pleasant.
B1
More commit
US /kəˈmɪt/
・
UK /kə'mɪt/
- Transitive Verb
- To do something bad, usually a crime
- To promise your permanent love or loyalty (to)
A2TOEIC
More texture
US /ˈtɛkstʃɚ/
・
UK /ˈtekstʃə(r)/
- Noun (Countable/Uncountable)
- Quality from different elements, as in music
- Look and feel of a substance or material
- Transitive Verb
- To give a particular look or feel to a surface
B1
More Use Energy
Unlock Vocabulary
Unlock pronunciation, explanations, and filters

