Subtitles & vocabulary
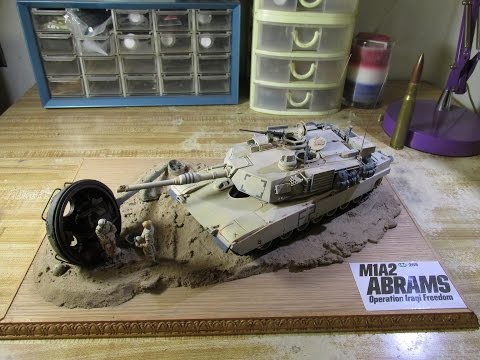
Building Tamiya M1A2 Abrams. From Start to Finish. 1/35 Scale. Part 2 Direct Hit
00
Ray posted on 2016/07/11Save
Video vocabulary

entire
US /ɛnˈtaɪr/
・
UK /ɪn'taɪə(r)/
- Adjective
- Complete or full; with no part left out; whole
- Undivided; not shared or distributed.
A2TOEIC
More time
US /taɪm/
・
UK /taɪm/
- Uncountable Noun
- Speed at which music is played; tempo
- Point as shown on a clock, e.g. 3 p.m
- Transitive Verb
- To check speed at which music is performed
- To choose a specific moment to do something
A1TOEIC
More piece
US /pis/
・
UK /pi:s/
- Countable Noun
- A counter in a board game
- Small part of something larger
- Transitive Verb
- To put items together to assemble something
A1TOEIC
More build
US /bɪld/
・
UK /bɪld/
- Noun
- Your physical shape; physique
- The process of construction.
- Transitive Verb
- To establish e.g. a reputation, over time
- To construct a house, office, factory
A1TOEIC
More Use Energy
Unlock Vocabulary
Unlock pronunciation, explanations, and filters

