Subtitles & vocabulary
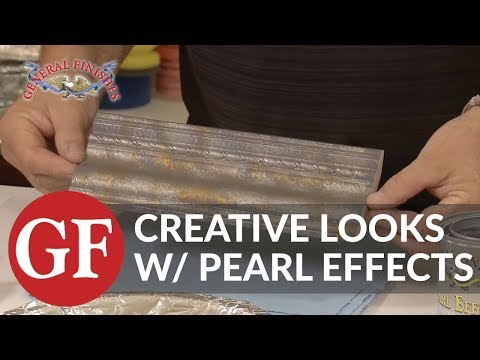
Creative Techniques Using Pearl Effects
00
NNN posted on 2016/05/29Save
Video vocabulary

bit
US /bɪt/
・
UK /bɪt/
- Noun
- Device put in a horse's mouth to control it
- Small piece of something
- Intransitive Verb
- (E.g. of fish) to take bait and be caught
A1
More subtle
US /ˈsʌtl/
・
UK /'sʌtl/
- Adjective
- Delicate or slight so it is difficult to perceive
- Clever or indirect but hides the true purpose
B1
More part
US /pɑ:rt/
・
UK /pɑ:t/
- Noun
- Division of a book
- Ratio of something, e.g. 3 of gin, 1 of tonic
- Transitive Verb
- To make a line in a person's hair, by using a comb
A1TOEIC
More surface
US /ˈsɚfəs/
・
UK /'sɜ:fɪs/
- Transitive Verb
- To give (road) a top layer
- Intransitive Verb
- To appear after being hidden, unseen, or unknown
- To come to the top of something; emerge
A2TOEIC
More Use Energy
Unlock Vocabulary
Unlock pronunciation, explanations, and filters

