Subtitles & vocabulary
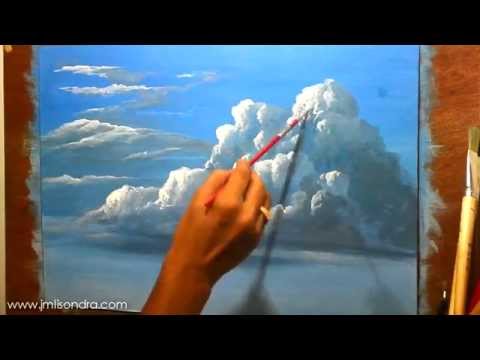
How to Paint Clouds in Acrylic - Instructional Painting Lesson by JM Lisondra
00
Weisen Huang posted on 2015/10/31Save
Video vocabulary

create
US /kriˈet/
・
UK /krɪ'eɪt/
- Transitive Verb
- To make, cause, or bring into existence
- To cause something to happen; to give rise to a particular situation or state.
A1
More achieve
US /əˈtʃiv/
・
UK /ə'tʃi:v/
- Transitive Verb
- To succeed in doing good, usually by working hard
- To succeed in reaching a particular goal, status, or standard, often after effort or perseverance.
A2TOEIC
More flat
US /flæt/
・
UK /flæt/
- Noun (Countable/Uncountable)
- Apartment; set of rooms for living in
- The smooth or level part of something
- Verb (Transitive/Intransitive)
- To share an apartment with someone
- To fail to produce the intended effect; to be unsuccessful or uninteresting.
A2
More apply
US /əˈplaɪ/
・
UK /ə'plaɪ/
- Transitive Verb
- To spread a substance or liquid over a surface
- To commit your time and effort to doing something
A1TOEIC
More Use Energy
Unlock Vocabulary
Unlock pronunciation, explanations, and filters

