Subtitles & vocabulary
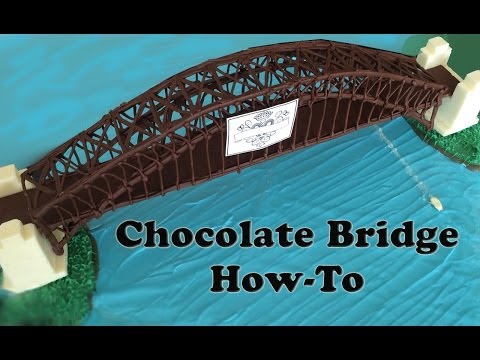
Chocolate Sydney Harbour Bridge Australia Day fireworks HOW TO COOK THAT Ann Reardon
00
cathy~ posted on 2015/03/13Save
Video vocabulary

straight
US /stret/
・
UK /streɪt/
- Adjective
- Not having curves, bends, or angles
- Not gay; heterosexual
- Adverb
- in a line; immediately; honestly and directly
- In a straight line; directly.
A2TOEIC
More compound
US /kɑmˈpaUnd/
・
UK /'kɒmpaʊnd/
- Noun (Countable/Uncountable)
- Series of buildings that are walled or fenced off
- Chemical made up of several others
- Transitive Verb
- To pay interest on a loan including the interest
- To make something from various parts or components
B1
More set
US /sɛt/
・
UK /set/
- Adjective
- Prepared for something; ready
- Fixed; not able to be changed.
- Transitive Verb
- To make a clock state or ring at a particular time
- To decide upon or choose something
A1TOEIC
More side
US /saɪd/
・
UK /saɪd/
- Intransitive Verb
- To decide to agree with one point, not the other
- Noun
- Position or opinion that is opposite to another
- Right or left part of a person's body
A1
More Use Energy
Unlock Vocabulary
Unlock pronunciation, explanations, and filters

