Subtitles & vocabulary
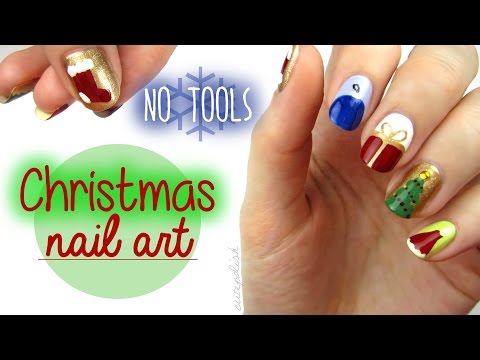
Nail Art for Christmas: The NO TOOL Guide!
00
稲葉白兎 posted on 2015/01/17Save
Video vocabulary

create
US /kriˈet/
・
UK /krɪ'eɪt/
- Transitive Verb
- To make, cause, or bring into existence
- To cause something to happen; to give rise to a particular situation or state.
A1
More stroke
US /strok/
・
UK /strəʊk/
- Noun (Countable/Uncountable)
- When blood cannot get to brain, causing damage
- Mark made by a pen, pencil or brush
- Transitive Verb
- To rub your hand in a caring way on something
B1
More stock
US /stɑk/
・
UK /stɒk/
- Noun (Countable/Uncountable)
- Animals such as cattle kept for breeding
- Merchandise; goods kept by a business for sale
- Uncountable Noun
- Tasty liquid added to stews, soups etc.
B2TOEIC
More top
US /tɑp/
・
UK /tɒp/
- Transitive Verb
- To be higher or larger than a specific value
- To arrive at the highest point of something
- Noun
- Item of clothing covering shoulders to waist, hips
- A cover or lid
A1TOEIC
More Use Energy
Unlock Vocabulary
Unlock pronunciation, explanations, and filters

