
of course
US /ʌv kɔː(r)s/
UK /ɔv kɔː(r)s/
- Adverb
- Sure ; Certainly
- Phrase
- For sure; certainly
A2Morepart with
US /pɑrt wɪð/
UK /pɑ:t wið/
- Phrasal Verb
- To give something away; relinquish possession of something.
A1Moresection
US / ˈsɛkʃən/
UK /'sekʃn/
- Noun (Countable/Uncountable)
- A part of a whole
- Specific group of people from a larger group
- Transitive Verb
- To divide something into smaller parts
B1TOEICMoreshade
US /ʃed/
UK /ʃeɪd/
- Noun (Countable/Uncountable)
- Area of darkness when something blocks the light
- Verb (Transitive/Intransitive)
- To shelter something from direct light
- To change the truth to deceive or influence
A2Moretexture
US /ˈtɛkstʃɚ/
UK /ˈtekstʃə(r)/
- Noun (Countable/Uncountable)
- Quality from different elements, as in music
- Look and feel of a substance or material
- Transitive Verb
- To give a particular look or feel to a surface
B1Moretone
US /toʊn/
UK /təʊn/
- Noun (Countable/Uncountable)
- Atmosphere or feeling in a message
- Firmness and strength of the body's muscles
- Transitive Verb
- To increase the quality of muscles by exercise
A2Morevolume
US /ˈvɑljum, -jəm/
UK /ˈvɒlju:m/
- Noun (Countable/Uncountable)
- Number or amount of something e.g. sales
- Amount of space that something takes up
- Countable Noun
- One book that is part of a set of books
A2More
Vocabulary
- of course: Sure ; Certainly
- part with: To give something away; relinquish possession of something.
- bit: Device put in a horse's mouth to control it
- lead: Wire for electricity, computer, etc.; cable
- good: Proper, appropriate or right
- draw: To attract attention to someone or something
- give: Degree of flexibility in something, a material
- part: Division of a book
- texture: Quality from different elements, as in music
- section: A part of a whole
- love: Person's name
- pull: Act of breathing in smoke, as from a pipe
- volume: Number or amount of something e.g. sales
- detail: Small part of something; tiny fact
- tone: Atmosphere or feeling in a message
- continue: To do something without stopping, or after pausing
- shade: Area of darkness when something blocks the light
Get the full experience in the app
Learn anywhere with detailed sentence and usage analysis
01:03
She took a brave step forward, leaving behind her comfort zone to chase her dreams.
Vocabulary
- brave
adj. Having courage
- comfort zone
phr. A familiar situation where one feels safe
Explanation
a brave step is a noun phrase, where brave is an adjective modifying the noun step, meaning "a courageous step".
forward is an adverb modifying step, meaning "ahead".
The whole phrase serves as the object, answering the "what" of took (verb) — she took a brave step forward.
Get the full experience in the app
Look up words anytime with pronunciation, part of speech, and usage
brave
US/brev/
UK/breɪv/
adj.Brave
v.t.To bravely face
A2 Elementary
Get the full experience in the app
Practice speaking anytime and get instant pronunciation feedback
Try this speaking exercise.
Try practicing with this sentence.
80
0
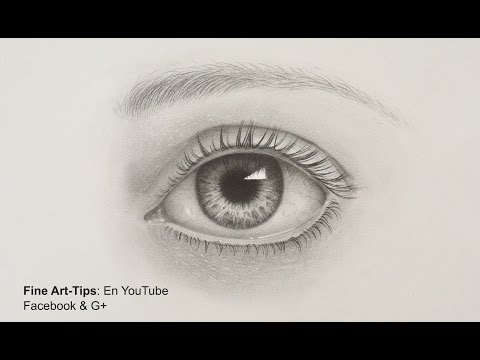
vulvul posted on 2014/11/06Ever wanted to draw a super realistic eye? This tutorial breaks down graphite shading and smudging techniques step-by-step, perfect for beginners! You'll pick up tons of useful art vocabulary like 'iris' and 'lacrimal' while learning to create amazing texture.
Learn this video on the APP!
The VoiceTube App has more in-depth practice for videos!